3D‑Printed Sandals
Wearable TPU 95A sandals modeled in Fusion 360 and printed on a Bambu printer
Designer and Fabricator
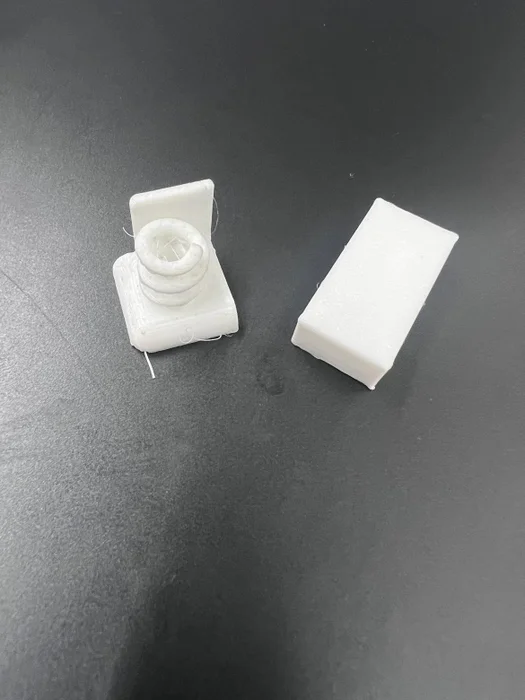
Research and TPU 95A Test Print
Exploratory Sandal Drawing
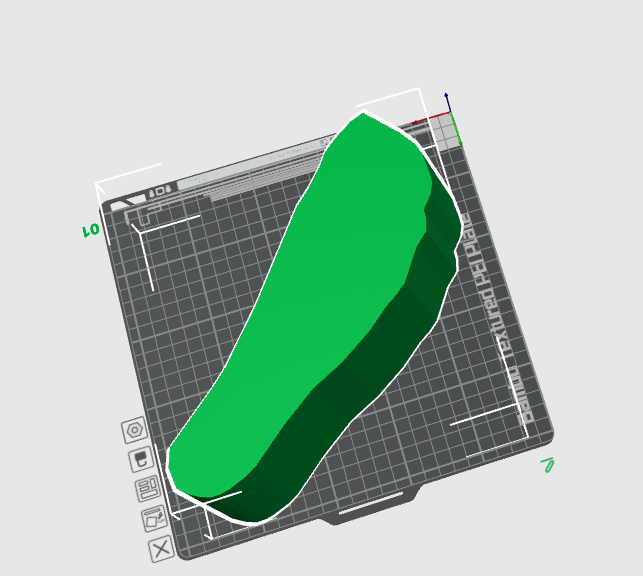
Sole Test Print
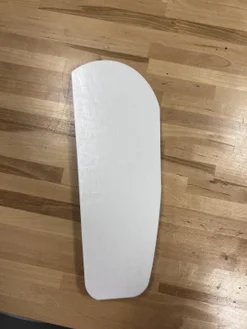
Sole Testing
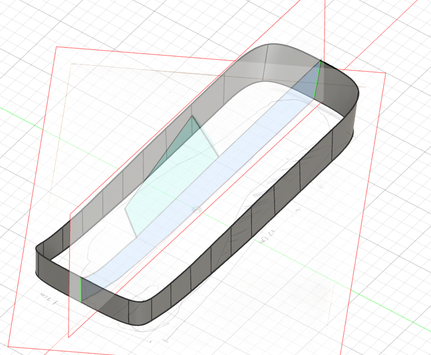
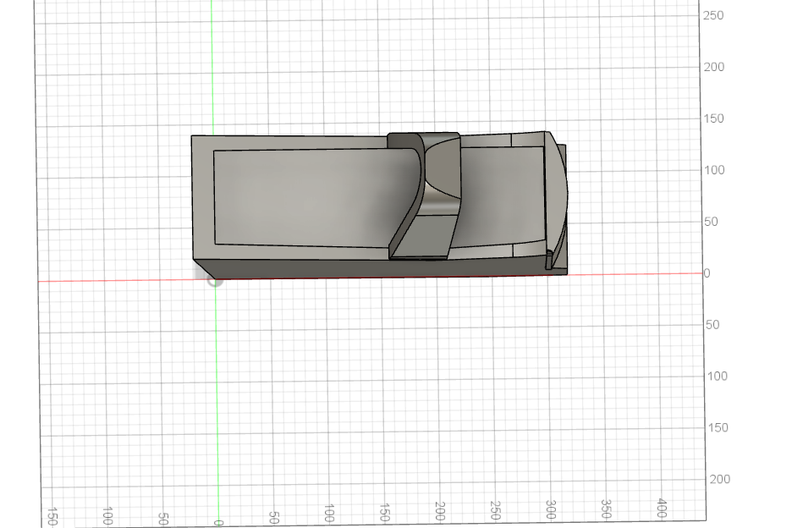
Design Sole
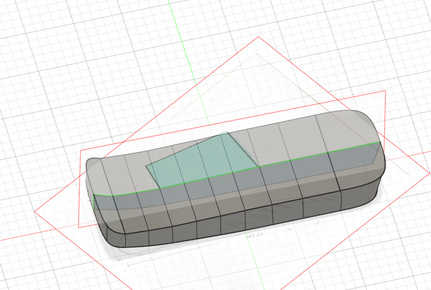
Map Sole Form
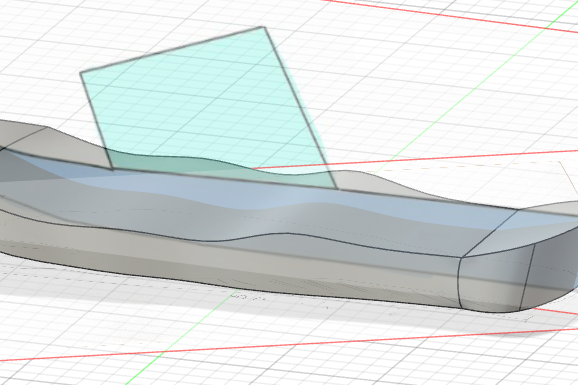
Map Sole Depth
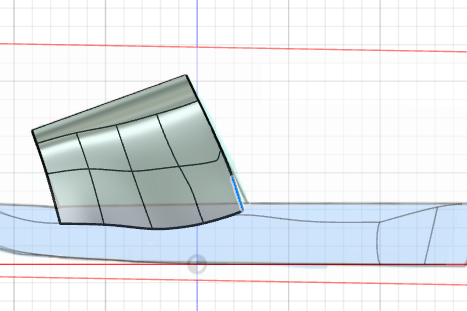
Design Strap
Design Grooves

First Sandal 3D Print
Sandal Testing
Modifications and Add Name
Final Sandals
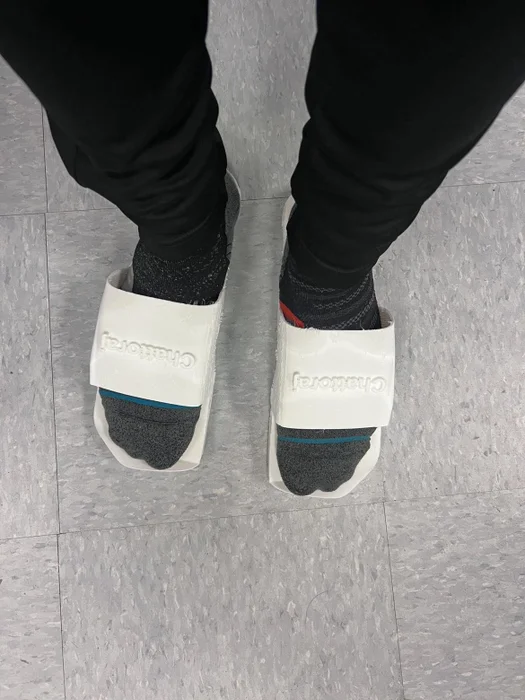
Wearing Final Sandals
I designed a pair of 3D‑printed sandals in Fusion 360 and printed them in TPU 95A on a Bambu printer. My goal was a comfortable, sturdy, well‑fitting shoe mapped directly to my feet. I started by testing TPU with a mini sole and a spring print to check bendability, softness, and stringiness. Once I knew TPU 95A was bendable and strong, I built an exploratory sandal by tracing my foot and extruding a rough base, which helped me understand what wouldn’t work before I followed any tutorials.
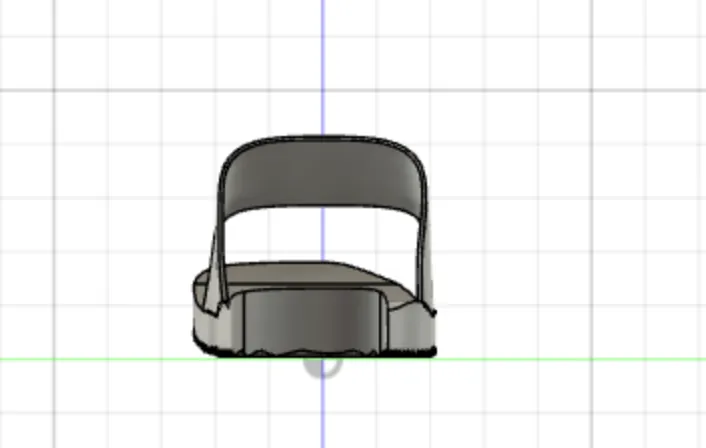
Afterward, I mapped my foot more carefully by overlaying measurements with a shoe canvas, creating a T‑spline outline, duplicating it by the width of my foot, and bridging the bodies to form a solid sole. I edited each face so the form matched the high and low points of my foot, which set the actual shape of the shoe. I then designed the strap as part of the model to avoid assembly issues. Mapping the strap took a long time because I added extra edges and faces and had to correct areas that were floating once I viewed the model from all sides.
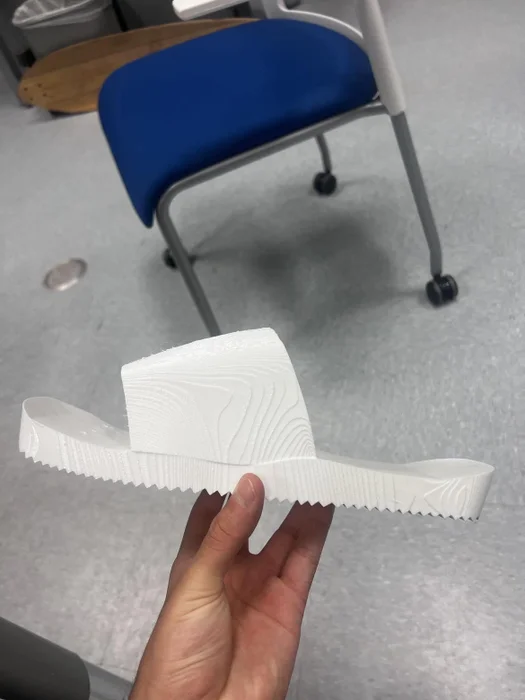
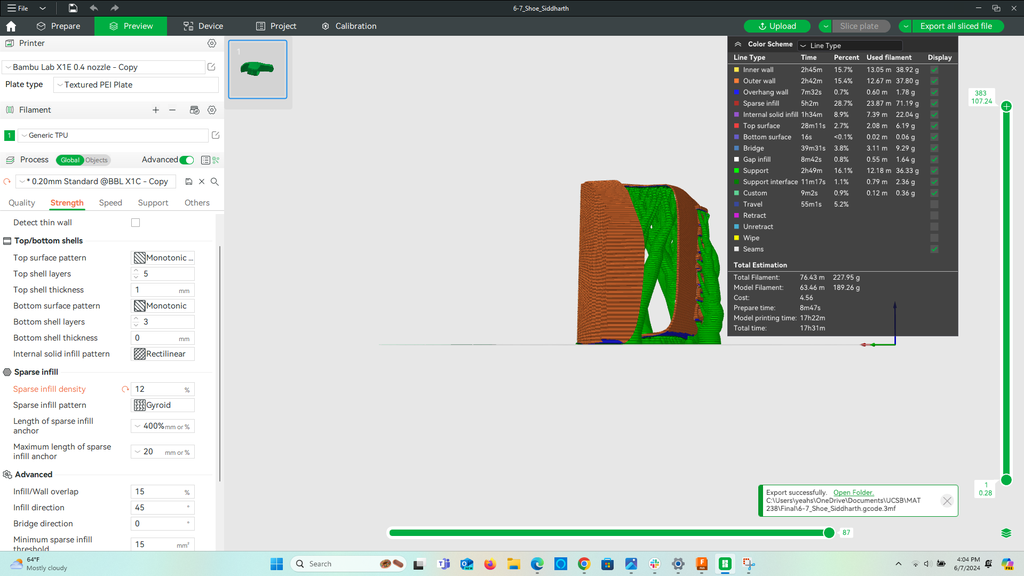
I created the grip by manually drawing small angled triangles through the length of the sole and cutting them through the base. I combined the strap and sole, exported the model to the Bambu slicer, switched to gyroid infill at 5%, and used tree supports to simplify removal and cut down print time. The first full print took about 15 hours. Removing the supports was extremely easy since I could pull the trees off in a couple of minutes. The material came out soft, sturdy, and only lightly stringy, but the fit and strap connection needed edits.
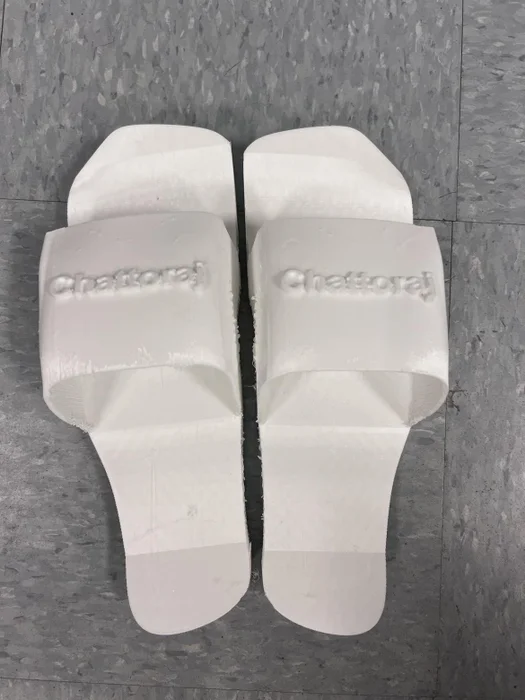
Based on testing and feedback, I increased the infill density to 12% so the base wouldn’t collapse, fixed the outer strap mapping where a part wasn’t attached, decreased the strap height so the shoe wouldn’t slip when I walked, and increased the length by 10 mm after realizing my early measurement was too short. I added my last name to the strap with a Boolean cut and fitted it so it sat inside the 2 mm thickness without breaking through.
To create the left sandal, I mirrored the base and strap using Autodesk’s workflow, but duplicated the name so it wouldn’t appear backwards. Each final sandal took around 17 hours to print. The updated pair came out firmer, soft, comfortable, properly mapped, and cleanly supported, with the strap fully attached and the fit corrected.
This project was completed as the final project for MAT 238: Computational Fabrication, a graduate course in the Department of Media Arts and Technology taught by Dr. Jennifer Jacobs. The assignment was to design any functional artifact for home or personal use. I designed a pair of sandals since I wanted to explore wearable 3D printing with flexible filament and create a sandal I could use daily.
Afterward, I mapped my foot more carefully by overlaying measurements with a shoe canvas, creating a T‑spline outline, duplicating it by the width of my foot, and bridging the bodies to form a solid sole. I edited each face so the form matched the high and low points of my foot, which set the actual shape of the shoe. I then designed the strap as part of the model to avoid assembly issues. Mapping the strap took a long time because I added extra edges and faces and had to correct areas that were floating once I viewed the model from all sides.
I created the grip by manually drawing small angled triangles through the length of the sole and cutting them through the base. I combined the strap and sole, exported the model to the Bambu slicer, switched to gyroid infill at 5%, and used tree supports to simplify removal and cut down print time. The first full print took about 15 hours. Removing the supports was extremely easy since I could pull the trees off in a couple of minutes. The material came out soft, sturdy, and only lightly stringy, but the fit and strap connection needed edits.
Based on testing and feedback, I increased the infill density to 12% so the base wouldn’t collapse, fixed the outer strap mapping where a part wasn’t attached, decreased the strap height so the shoe wouldn’t slip when I walked, and increased the length by 10 mm after realizing my early measurement was too short. I added my last name to the strap with a Boolean cut and fitted it so it sat inside the 2 mm thickness without breaking through.
To create the left sandal, I mirrored the base and strap using Autodesk’s workflow, but duplicated the name so it wouldn’t appear backwards. Each final sandal took around 17 hours to print. The updated pair came out firmer, soft, comfortable, properly mapped, and cleanly supported, with the strap fully attached and the fit corrected.
This project was completed as the final project for MAT 238: Computational Fabrication, a graduate course in the Department of Media Arts and Technology taught by Dr. Jennifer Jacobs. The assignment was to design any functional artifact for home or personal use. I designed a pair of sandals since I wanted to explore wearable 3D printing with flexible filament and create a sandal I could use daily.
Project Credits
- Design & Fabrication
- Siddharth Chattoraj
- Modeling
- Autodesk Fusion 360
- Printing
- Bambu printer · TPU 95A